Paper Marbling from Ruth Bleakley on Vimeo.
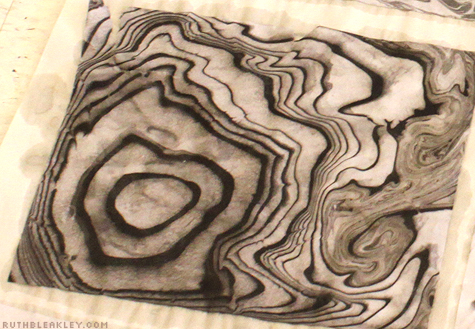
I’ve had a couple of questions from students about the actual mechanics of paper marbling – it’s hard to describe in words, but I’ve created a nice little slideshow so you can see how it’s done!
1. Fill a tray with marbling “size” created from a mixture of carrageenan and water.
2. Drop diluted watercolors on the surface until they expand into rings.
3. Use combs to comb through the paint to create a pattern.
4. Lay a sheet of paper on the surface of the design, peel it back and viola! the design adheres to the surface of the paper.
5. Skim the size with some newsprint and start again.


3 Comments
Hi there Ruth!
I love it! You really make it look so simple… I have tried marbling in the past, but only with oil paints on water, and it was difficult to control the pattern, the swirls were very dispersed and not smooth swirls like yours. And hurrah! No ox-gall! 😀
Kind regards
Joey
Thanks Joey! The nice thing about this is that it’s all non-toxic and easy to dispose of, unlike oil paints
[…] in your life up until now has prepared you for this moment! Remember the time you set up your own mini marbling studio in your kitchen 6 years ago? It’s just like that! only…times…ten…I mean…one hundred […]