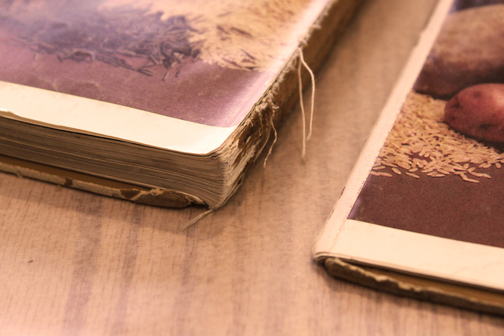
I was approached by someone looking to have a well-loved cookbook repaired for a friend. The book was in sad shape – one of the covers was completely separate from the text block, and the other was barely hanging on by an end page. One of the signatures had come loose as well. I was able to fully repair it as you can see in the photos below – these were the steps
(if you’re looking for a great resource on how to repair your own books, this book is hands-down the best resource out there, and how I learned to do this repair: Book Repair: a How-To-Do-It Manual by Kenneth Lavender – pricey, but a repair manual you’ll turn to again and again!)Â
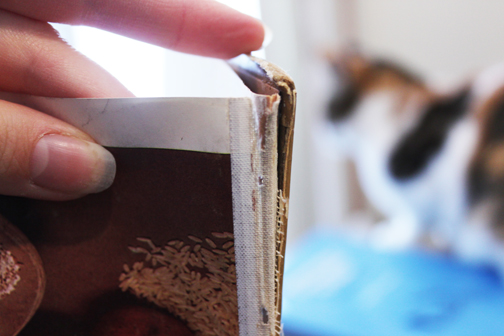
1. Remove traces of earlier repair – tape is my arch enemy when it comes to book repair – obviously duct tape is the worst, followed closely by packing tape, scotch tape and gummed book repair tape. Someone obviously attempted to repair this many years ago, but the adhesive on the gummed tape becomes brittle over time.
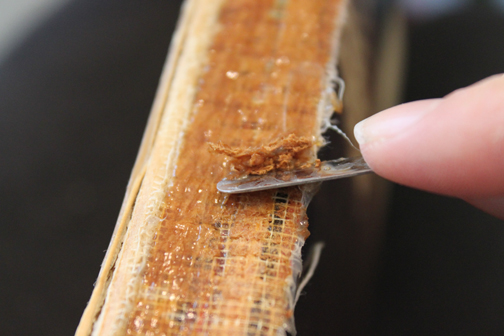
2. Scrape as much glue and paper off the spine as possible – the super (the mesh covering the spine inside) was almost impossible to remove because of the brown hot glue used to attach it, so I decided to just glue another super on top of it rather than risk pulling all of the stitching out.
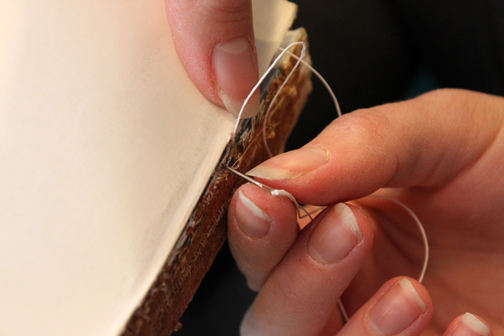
3. Reattach loose signatures to text block – I did this by sewing with Irish linen thread through the holes that already existed and linking them to the text block.
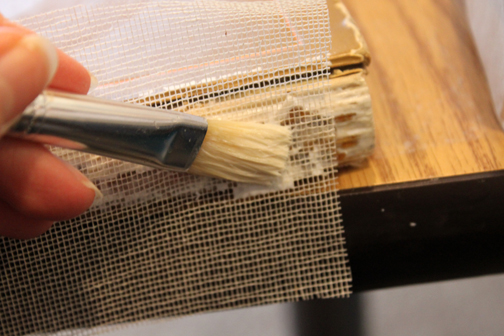
4. Glue on a new super to act as a strong internal hinge – sometimes new mass produced books don’t have a super lining the inside hinge, and the only thing holding the book to the cover is the endpaper, which over time cracks.
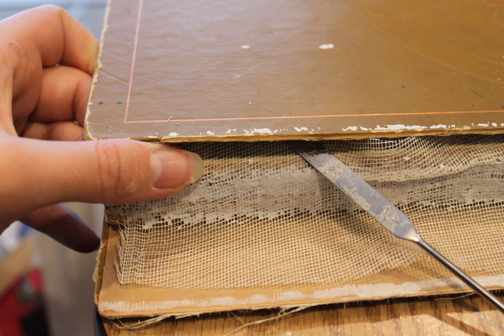
5. Lift off the endpaper and slide the super between it and the inside cover – this takes some delicate work, steaming to lift off old glue and a handy micro spatula. I glued everything and let it dry before creating a new spine.

6. Cut spine peice and line it with cardstock cut to the same size as the spine, add cords at top and bottom for nicer presentation and to preserve the spine when it’s pulled off the shelf.
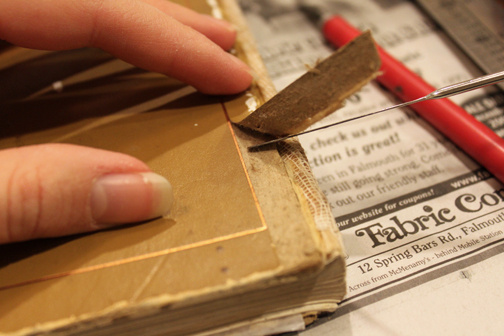
7. Cut the front and back covers and peel back the cover – this looks terribly abusive but is necessary to create room for the new spine.
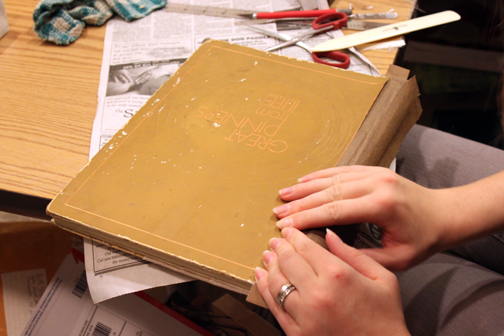
8. Slide the new spine underneath the cover sheet and glue it down – the middle of the spine, the part lined in paper that actually touches the spine of the text block SHOULD NEVER BE GLUED (unless you’re making a tight back spine, but you’re not). Only the “wings” of the spine piece are glued, allowing free movement of the text block when the book is opened.
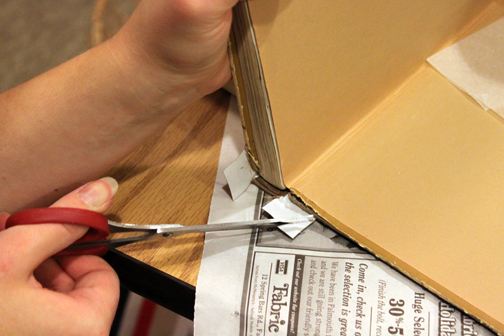
9. Cut notches and glue down the top and bottom of the spine – I like to make mine neat by sliding it between the endpaper and the book board – some might call this fussy, but I think it looks nicer than a piece of fabric over the endpapers.
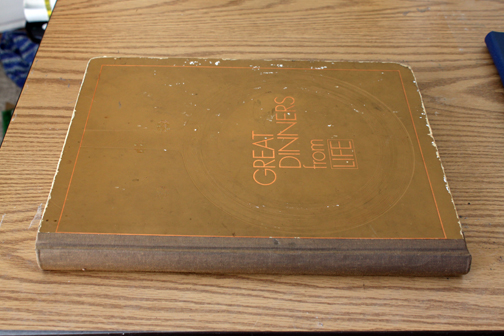
10. Put the book under weight with rods to strengthen the hinge – It’s important to put something in that groove where the cover meets the spine – it allows the glue to make full contact between the paper and fabric and strengthens the most breakable part of the book. You can use Brass edge boards (ideal), knitting needles – or in my case, think dowels left over from mobile making.
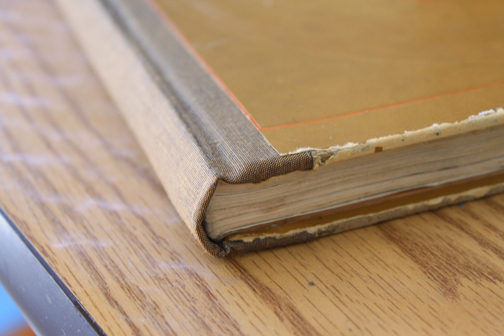
Voila! a lovely new useable book!
This post contains affiliate links



1 Comment
Dear Ruth – Marvelous job, and I had no idea it was sooooooo involved !
Many thanks
Lorenzo